The Germans lost the Battle of Britain due to a combination of inadequate materiel, superior British defenses, pilot factors, tactical errors, and production disparities. The Luftwaffe’s failure to gain air superiority was not caused by a single event, but rather multiple interconnected reasons that favored the British side.
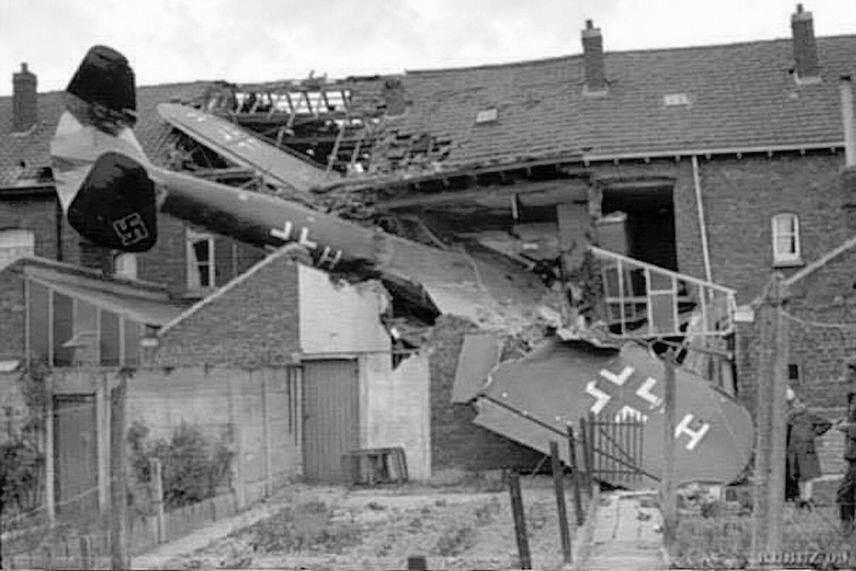
The Luftwaffe entered the conflict with aircraft ill-suited for sustained offensive bombing campaigns. German bombers like the JU-88 and HE-111 were medium bombers designed for speed, but they lacked the range, payload, and defensive armament necessary to significantly damage British infrastructure. Their bombers could only carry limited loads and performed more harassment than decisive strikes.
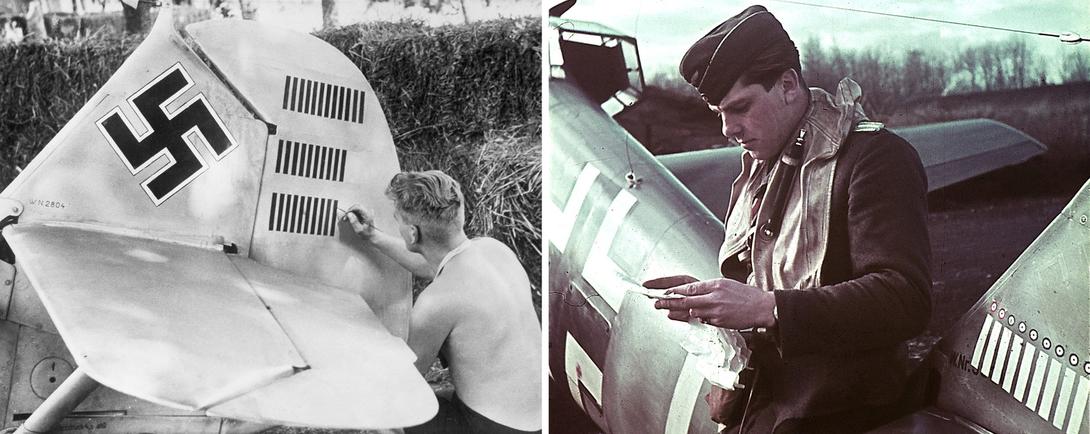
Additionally, escort fighter support for these bombers was flawed. Early escort fighters, such as the twin-engine Me-110 ‘Zerstörer’, were too heavy and slow to effectively protect the bombers in dogfights. Later efforts to employ lighter fighters like the Me-109 and FW-190 ran into problems with limited fuel capacity, restricting their time over England to around 10 minutes of combat for the Me-109s. This left German bombers vulnerable to interception by the RAF, which fielded highly capable fighter aircraft.
On the British side, the RAF benefited from a strong defensive position and a powerful air defense network. British fighters such as the Spitfire and Hurricane were generally comparable in performance to German fighters, and, combined with integrated radar systems and a coordinated command center, allowed efficient detection, tracking, and interception of incoming raids. The radar and command setup enabled timely deployment of fighters, minimizing damage from German raids.
RAF pilots also had an operational advantage. Downed British pilots could return to combat within hours after rescue, maintaining pilot numbers. In contrast, Luftwaffe pilots captured or shot down were lost from the theater, reducing German fighting capability over time. Faced with pilot shortages, the RAF reinforced its ranks from other commands and allied air forces, delaying the degradation of British air power.
German command decisions contributed substantially to their failure. A significant turning point came when the Luftwaffe shifted focus from targeting RAF airfields and radar installations to bombing London in September 1940. This pause allowed British airbases to repair and resume full fighter operations, negating earlier German progress. The decision also gave Dowding’s Fighter Command vital breathing room to recover and regroup.
Furthermore, Luftwaffe leadership, particularly under Hermann Göring, suffered from misjudgments and overconfidence. Göring’s style and strategic mistakes undermined coordinated effort. Also, tactical constraints on German fighters, such as orders to remain close to bombers, limited their effectiveness.
The RAF adapted and improved tactics throughout the battle. Early in the conflict, Luftwaffe fighter formations had an edge, with better mutual protection. However, the RAF modified its tactics to more effective formations and attacked in smaller groups, which overstated their numbers and stressed German resources. Hugh Dowding’s Fabian strategy aimed at attrition—preserving pilots by avoiding unnecessary dogfights and striking only when the odds favored the RAF—proved successful.
Production capacities were another decisive factor. British aircraft production surged under Lord Beaverbrook, tripling the number of combat-ready aircraft within a few months. Britain produced almost three fighters for every German plane assembled during this crucial period, outpacing German output significantly. German efforts to cripple British factories and airfields underestimated this capacity, rendering bombing raids less effective in terms of reducing British air strength.
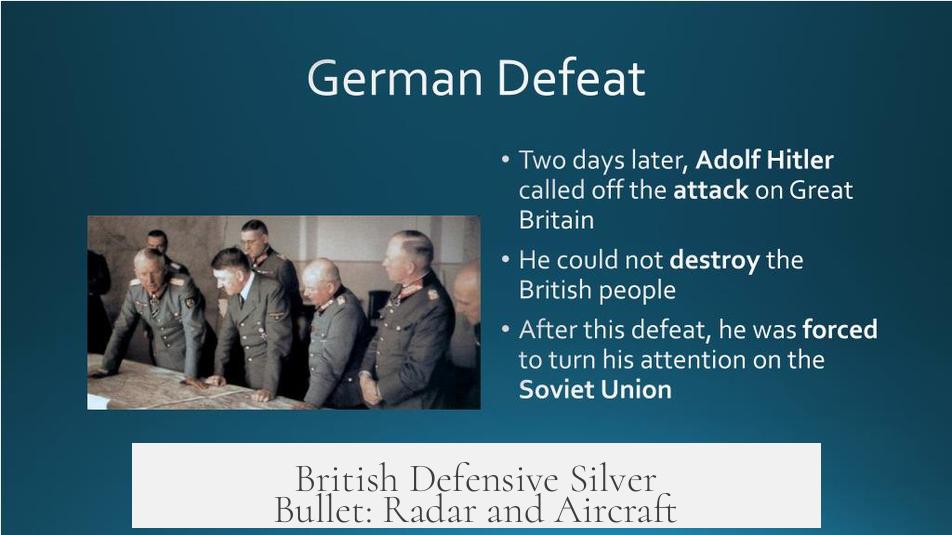
Lastly, strategic concerns forced Germany to divert resources. With the looming Eastern Front against the Soviet Union becoming more critical, Hitler and the German high command decided to withdraw from the costly air campaign over Britain to concentrate forces elsewhere.
| Factor | Description |
|---|---|
| Materiel Deficiencies | German bombers lacked range, payload, and defensive armament. Escorts had limited fuel and were poorly suited to prolonged combat. |
| British Defensive Advantage | Powerful radar system and fighter command coordination enabled effective interceptions. |
| Pilot Factors | RAF pilots rapidly returned to combat; Luftwaffe losses were permanent in the theater. |
| Strategic Errors | Shift to bombing London allowed RAF airfields to recover and reduced German tactical advantage. |
| Production Capacity | British aircraft production outpaced Germany’s by nearly 3:1 during the battle. |
The Battle of Britain was a close contest shaped by skillful British leadership, superior strategy, and industrial resilience. Hugh Dowding’s coordination and tactical restraint maximized RAF effectiveness. German overconfidence and missteps, combined with technical limitations, prevented their achieving air superiority. The outcome preserved Britain’s independence and marked the first major defeat for Hitler’s forces in World War II.
- The Germans lost due to inadequate aircraft design and short-range escorts.
- British radar and fighter coordination provided a strong air defense.
- Pilot turnaround favored the RAF’s sustainability.
- German shifting targets gave British airfields time to recover.
- RAF production surged, outproducing Germany during the battle.
- Tactical evolution favored the defensive Fabian strategy of attrition.
Why Did the Germans Lose the Battle of Britain?

The Germans lost the Battle of Britain due to a mix of inadequate equipment, strategic errors, British technological advantages, pilot dynamics, and industrial production disparities. Let’s unpack that tangled web, piece by piece, and find out why the Luftwaffe got grounded over England instead of ruling its skies.
Imagine gearing up for a duel with sleek horses but arriving on sluggish carts. That’s roughly what happened with German bombers and fighters during this epic aerial clash.
The German Materiel Mess: Bomber and Fighter Issues
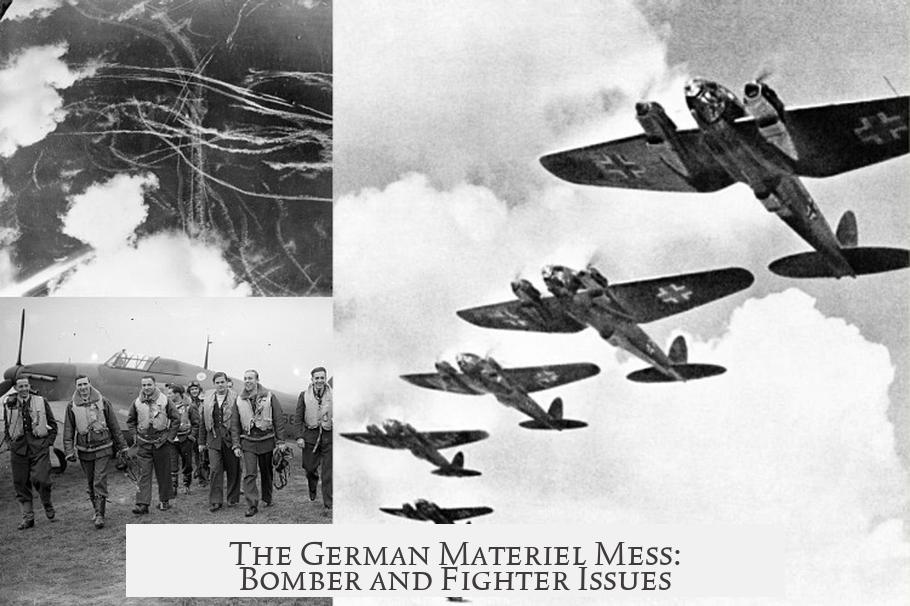
The German bomber fleet was largely a letdown. Planes like the JU-88 and HE-111 were designed just before the war with hopes they’d dodge opposing fighters with speed. Spoiler alert: they didn’t. These medium bombers lacked the range and punch for anything beyond light harassment.
Even worse? Their self-defense armaments were too weak to fend off the nimble British fighters. If you’re sending bombers into hostile skies, you want them armed and armored—not somewhat defenseless flying targets.
Then there’s the choice of escort fighters: initially, the Luftwaffe sent in the ME-110 heavy fighters (Zerstörer). These were twin-engine beasts, bulky and slow in dogfights—about as useful as a sumo wrestler trying to dance ballet.
Later on, lighter fighters like the ME-109 and FW-190 were drafted for escort duty. But their tiny fuel tanks meant they could only guard bombers for brief stretches, leaving the aircraft exposed when they needed protection most.
So, the Germans went into battle with too-small arrows and too-heavy bows. No wonder their bombing campaigns barely scraped the surface of meaningful damage.
British Defensive Silver Bullet: Radar and Aircraft
The British, on the other hand, had a sweet deal: fight defensively on home ground. Planes didn’t have to chase the enemy; they awaited them over familiar soil, which meant shorter flight times and less fuel stress.
Britain’s Hurricanes and Spitfires were battle-hardened and produced efficiently. The Hurricane was a time-tested airframe, easy to produce and repair, while the Spitfire’s sleek design made it a fierce rival to the German Bf-109.
But the *real* game-changer? Britain’s radar and detection network. This wasn’t just a fancy gadget; it was a *revolution*. Created under the leadership of Air Marshal Hugh Dowding, the radar system and spotter chains tracked enemy raids, plotted their positions, and directed British fighters with precision.
Think of it as the ultimate air traffic control meeting a crystal ball—allowing RAF fighters to intercept efficiently without wasting fuel or time.
Pilots: Who Stayed in the Fight Longer?
Pilots can decide battles too. The RAF enjoyed the advantage of being on home turf. Downed British pilots often parachuted into friendly territory, rehabbed quickly, and flew again within hours or days.
The Luftwaffe? Not so lucky. Crashed or shot down over England, Luftwaffe pilots became prisoners of war or perished—no swift recovery rides home.
RAF losses did pile up, leading Command to pull pilots from across their air forces and even other branches to replenish fighter ranks. This shows their desperation but also their resourcefulness in keeping the sky defense robust.
Tactical and Command Decisions: Who Called the Shots Better?
Germany’s leadership stumbled on tactical choices that hurt their effort. For instance, shifting the focus in September 1940 from bombing RAF airfields and radar stations to attacking London was a costly misstep.
This gave British airfields crucial breathing room to repair infrastructure and get squadrons back in action. Temporary air bases like flying clubs, which had been a stopgap, saw their fighters returned to permanent facilities.
Also, the Bf-109 fighter suffered from short combat duration over England—pilots barely had 10 minutes of fight time over London before having to escape to save fuel. Not exactly the recipe for sustained air superiority.
Adding to the problem, Luftwaffe fighters were increasingly ordered to stick closer to bombers, curbing their ability to chase off British attackers aggressively.
And then there’s Hermann Göring, the Luftwaffe’s commander. His leadership received heavy criticism for being focused more on personal glory than on sound strategic planning. Letting his ego lead the tactics cost Germany dearly.
The RAF, on the flip side, evolved their tactics mid-battle. They moved away from large “vic” formations towards more flexible, smaller group attacks, catching the Luftwaffe off-guard. Their Spitfires and Hurricanes matched Bf-109s well, which helped balance the air fights.
One of the best strokes of strategic genius was Dowding’s Fabian approach: a war of attrition. Instead of charging headlong into dangerous dogfights, RAF fighters preserved their forces and struck opportunistically, making every sortie count.
Dowding famously rejected the fatalistic claim “The bomber will always get through,” proving that disciplined defense and tactical airpower could blunt even a determined bombing campaign.
Factories and Production: The Unsung Battlefront
Even the best pilots and planes mean little if you can’t produce enough of them. British production, under Lord Beaverbrook’s leadership, skyrocketed. When he took charge, Britain had 2,729 planes—only 638 fighters. Within four months, production nearly tripled, putting almost 2,000 combat-ready fighters into the sky.
What’s shocking? Britain was producing nearly three times as many planes as Germany during this period. For every Luftwaffe plane made, England built three.
Göring underestimated this resolute industrial output, thinking bombs alone would crush British aircraft manufacturing. Instead, improved production kept the RAF’s ranks replenished despite heavy losses.
Meanwhile, Germany had to split resources as the Eastern Front opened, further straining Luftwaffe capabilities.
A Complex, Close-Run Race
The Battle of Britain wasn’t lost or won by a single factor. It was a complex interplay of technical weaknesses, strategic bumbles, British innovation, pilot stamina, and unmatched industrial resilience.
That fateful decision to switch targets to London probably saved Britain’s airfields and fighter strength when the nation needed it most.
Dowding’s steady leadership and system of defense came to define the RAF’s victory. His Fighter Command emerged heroes, validating the power of careful planning and teamwork in the face of overwhelming odds.
Want to Dive Deeper?
If history fascinates you, the 1969 film The Battle of Britain starring Michael Caine offers a cinematic dive into this crisis of the skies. For documentaries, check out the BBC’s Battle of Britain page, or the narration by actor and RAF pilot Colin McGregor for a personal touch.
For bookworms, The Burning Blue: A New History of The Battle of Britain by Paul Addison and Jeremy Crang is a UK historian’s deep dive into the battle’s nuances.
Curious about radar’s role? Look up Radar and the Battle of Britain to learn how this technology became a game-changer in modern air defense.
Your Takeaway?
So, why did the Germans lose the Battle of Britain? Because their planes and strategies just weren’t up to the task, their leadership fumbled, and British innovation and production powerfully pushed back. By combining clever technology, tenacious pilots, and smart tactics, Britain turned what could have been a nightmare into a remarkable victory.
Next time you hear about those scrappy Spitfires or Wyatt the Hurricane, remember it wasn’t just luck. It was a well-coordinated dance of science, grit, and gumption—one that grounded a mighty Luftwaffe and kept Britain’s skies free.